Tuesday, 6 May 2014

One sleep to go...

There is little proper house progress to report on other than some serious (and seriously boring) architrave and skirting painting but there are some things in there now. It's back to chaos of a different kind as we smashed up the wardrobe in transit and therefore have nothing to unpack clothes in to (oops).


Anyway, couldn't resist a little share so I ran round the house snapping the mess on my camera's auto mode - well there's no point in dressing up the situation eh. One sleep to go before we sleep there! Hopefully there will be a bed to sleep in by then.


 Flo and Elle interiors  Flo and Elle interiors  Flo and Elle interiors  Flo and Elle interiors  Flo and Elle interiors  Flo and Elle interiors  Flo and Elle interiors  Flo and Elle interiors  Flo and Elle interiors  Flo and Elle interiors  Flo and Elle interiors  Flo and Elle interiors  Flo and Elle interiors  Flo and Elle interiors  Flo and Elle interiors  Flo and Elle interiors  Flo and Elle interiors  Flo and Elle interiors house renovation blog house renovation blog house renovation blog house renovation blog house renovation blog house renovation blog house renovation blog house renovation blog house renovation blog house renovation blog

Friday, 2 May 2014

Late Night Update

Zzzzzzzz... I've lost track of the countdown, because I barely even know what day it is. 

I really need to start getting some more sleep. Last night my wonderful mum and grandmother came to help 'final preparations' for the move. It does not look like it's ready, but I guess it is because it has to be. My stuff is going in on Sunday no matter what state the house is in. Excuse the phone snaps.


The positive news is that the kitchen worktops have been oiled, the tiles are in the fireplace and the bathroom has even been cleaned! :-)


Dinner was a tray bake eaten off the old garden furniture and my stepladder in amongst paint chaos. Eep! I'm looking forward to getting back into cooking in my new kitchen very soon!


Wish me luck!

Wednesday, 30 April 2014

High Tiling Stylin'

So, we're 100% moving by next Tuesday. There is 6 sleeps to sleeping in le maison - It isn't sinking in yet but that's probably in part due to the fact that it still looks totally like a tip. (Skip arriving today - wish us luck). 
Monochrome and green making a lovely contrast.
With that in mind, I'm distracting myself with tiles. Mostly our tiles are in now. The bathroom, which you are probably bored by already has a grey slate effect floor (slate effect is easier to clean than slate and far cheaper). I bought mine here at 50% off which is an incredible price for porcelain rather than ceramic - buy porcelain for floors if you can as it's far harder wearing than ceramic. Our walls are black and white victorian brick effect. White walls with a dividing line to break up the room visually and to use as skirting against our 'Avon' blue wall. 


The kitchen was a little more spenny because I'm ashamed to say that I used Topps Tiles. Ashamed because they are undoubtedly overpriced and wherever I can, I've bought trade. 

In any case, I fell in love with these Mexican Talavera tiles on Ebay and then decided that the importation charge was simply too high and the different sizes would make grouting them a nightmare. Instead I found these which are a happy alternative and far easier to get hold of. 


Something that you should always think about with tiles is what's going to offset them. When you're choosing everything seems like an extreme design decision, but too often tiles just fade into the background and you end up not noticing them. For me, the metal accents in the room was the important factor in decision making. I was happy with a monochrome bathroom because I chose gold accessories to create the more unusual Victorian effect that I was after. In the kitchen, I have my chrome range cooker and chrome accents throughout which looks lovely with the cold blue tiles and warm wood tops and floors.

Victorian stlye  inspiration - I would have loved to have exposed copper pipes too but it wasn't practical.
My kitchen sink tap - sink is taped up for painting.
Gold accents in the bathroom - walls shown before they were painted.
Finally, having gotten the chimney swept by a lovely company in Green Lanes, I was ready to sort out the fireplace. We have the original cast iron insert still but no surround. It didn't take long to find a nice simple carved pine on again from Ebay and only in Archway (just up the road). I spent a grand total of £25 on this which was pleasing. 

I had already had some Victorian traditional quarry stone tiles laid which contrast beautifully with the wooden floors. I had quite a bit left over at the end of this and during the renovation process the terracotta front step tiles had been smashed, so I used the rest of them up like this - a nice motif for the ground floor. 


When the pine surround arrived, I felt that it needed some colour and was inspired by the green tiles that you seen in old English pubs. Again, all very Victorian. These are being put in today so watch this space. For now - the thing


Inspiration - Victorian green fireplace.
The tube underpass in Kensington.
FLo and elle tiles topps tiles where to buy cheap tiles gold taps FLo and elle tiles topps tiles where to buy cheap tiles gold taps FLo and elle tiles topps tiles where to buy cheap tiles gold taps FLo and elle tiles topps tiles where to buy cheap tiles gold taps FLo and elle tiles topps tiles where to buy cheap tiles gold taps FLo and elle tiles topps tiles where to buy cheap tiles gold taps FLo and elle tiles topps tiles where to buy cheap tiles gold taps FLo and elle tiles topps tiles where to buy cheap tiles gold taps FLo and elle tiles topps tiles where to buy cheap tiles gold taps FLo and elle tiles topps tiles where to buy cheap tiles gold taps FLo and elle tiles topps tiles where to buy cheap tiles gold taps FLo and elle tiles topps tiles where to buy cheap tiles gold taps FLo and elle tiles topps tiles where to buy cheap tiles gold taps FLo and elle tiles topps tiles where to buy cheap tiles gold taps FLo and elle tiles topps tiles where to buy cheap tiles gold taps FLo and elle tiles topps tiles where to buy cheap tiles gold taps FLo and elle tiles topps tiles where to buy cheap tiles gold taps FLo and elle tiles topps tiles where to buy cheap tiles gold taps FLo and elle tiles topps tiles where to buy cheap tiles gold taps FLo and elle tiles topps tiles where to buy cheap tiles gold taps FLo and elle tiles topps tiles where to buy cheap tiles gold taps FLo and elle tiles topps tiles where to buy cheap tiles gold taps FLo and elle tiles topps tiles where to buy cheap tiles gold taps FLo and elle tiles topps tiles where to buy cheap tiles gold taps 
Tuesday, 29 April 2014

From the windows to the walls

So we're kind of on track... the 10 day countdown takes us to Saturday but things will only go into the house from Sunday and then we will be half camping until Tuesday. The end is in sight.


Since this moment two weeks ago, sat outside Chris Stevens on the Holloway Road, I have had paint somewhere on my whether it has been my clothes, my hair or my eyelashes. Paint now seems like part of how things should look - white speckled faces are having a moment right now. 


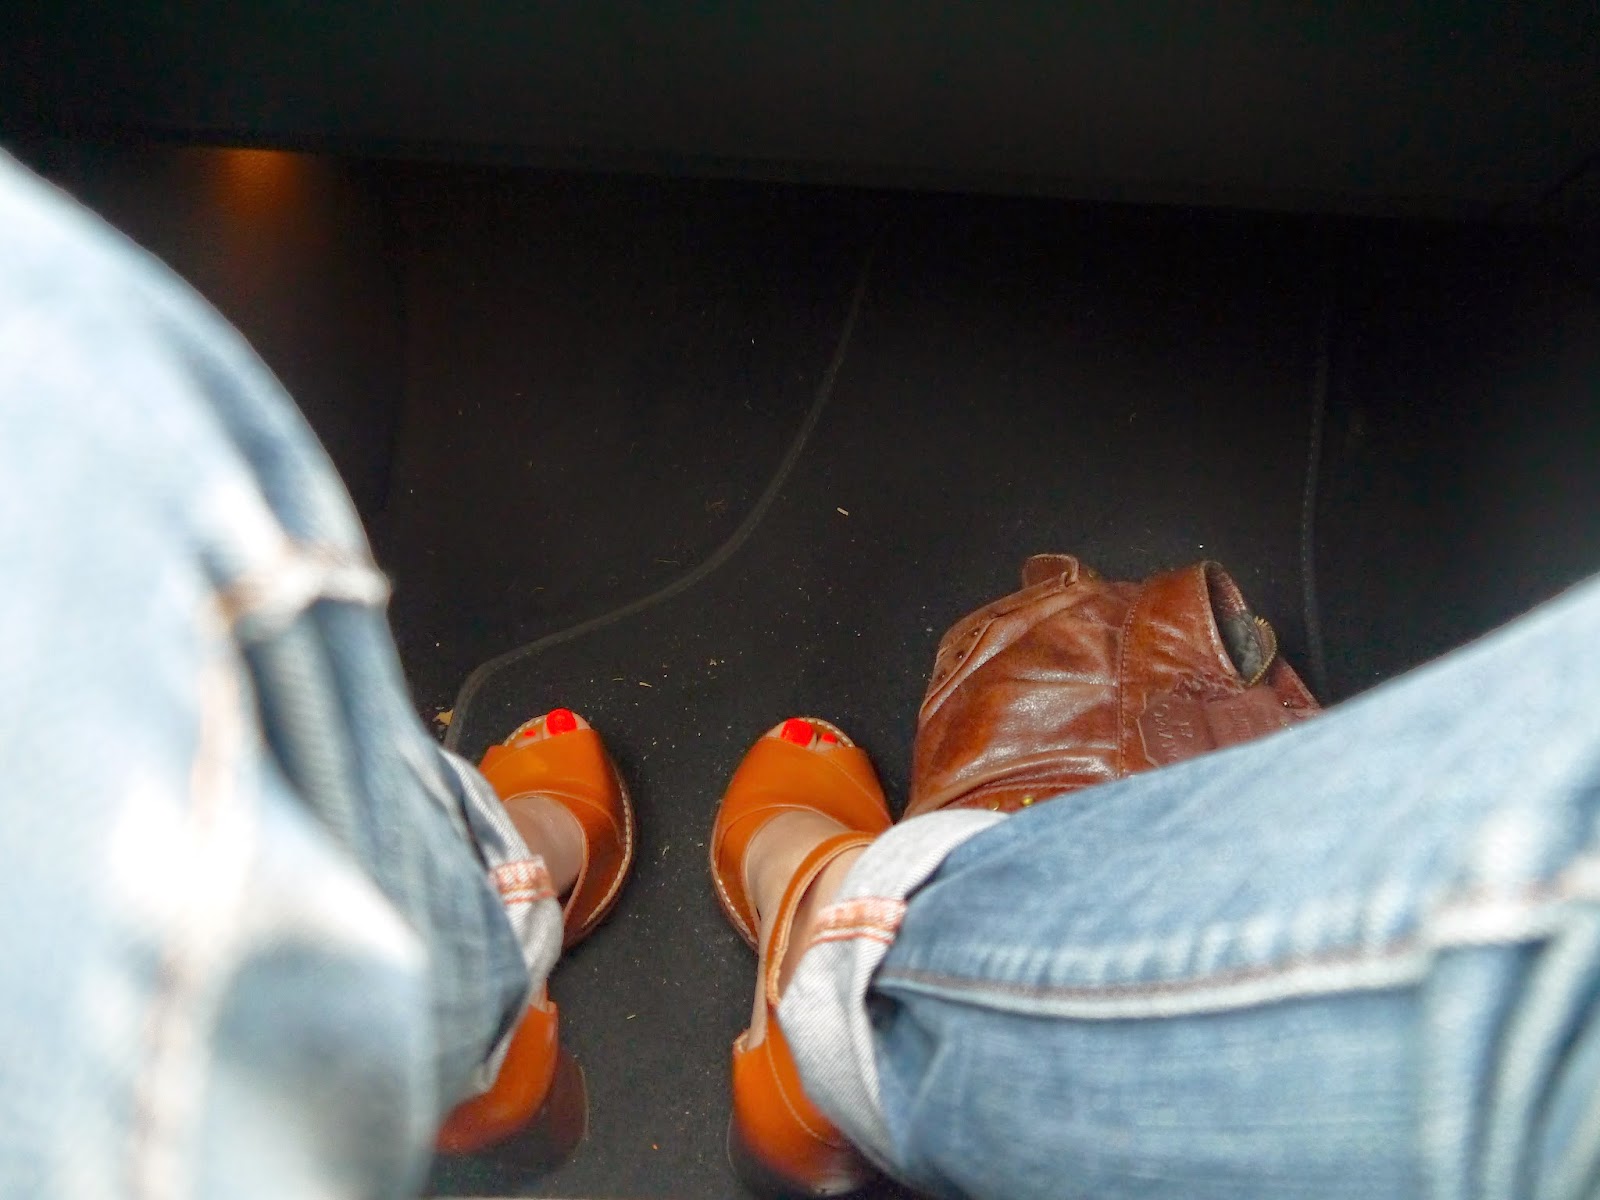
 So mum came to help us pick up paint in her car. I wore my sisters old jeans from when we were teenagers which conveniently mirror 'boyfriend' jeans and look great with paint on them. I also wore these lovely new kicks so that I could feel like a human before and after the painting. It worked, kind of... mainly they are still paint free unlike the rest of me.


We bought A LOT of paint. In actual fact we bought a fair bit we didn't need but don't underestimate how much you'll use. Things that we learnt:

  1. When you paint straight on to plaster, you have to use a 'mist coat' - emulsion mixed with water, which you whisk using a paint whisk and a drill. 
  2. Undercoats should be done in white emulsion too for walls because it's cheap.
  3. Wood work needs undercoats in either a water or oil based undercoat or primer depending on whether they're interior or exterior. 
  4. Coloured paint is expensive. 
  5. Eggshell is expensive.
  6. Gloss is a nightmare to paint with. Only use it if you really need to.
  7. Emulsion comes off. 
  8. Oil based stuff doesn't. 
  9. If you need any advice on where to buy, I would really recommend Chris Stevens because they're good guys and it's cheap all year round. 
  10. We have some amazing friends - a big thank you to Georgie, OJ, Anna S, Anna B, Kate, Pete, Drew and of course Mum and Granny for helping us out. 


You need suitable covers for the whole floor and more masking tape than you'd think. 


The satisfaction of finishing a room is indescribable. Especially when you're lucky enough for it to look exactly the way you had imagined it. Remember, I had to choose everything all at once before bits were in so it took a lot of bad drawings and leaps of faith to get here. 


You can make any old bashed up wooden door look 'shabby chic' with an undercoat and a lick of eggshell. 


My first new piece of furniture arrived because I needed a stepladder so I got to buy my first vintage piece. It's a 1950s wood and metal step ladder and it has been a good friend over the last few days. The little steps fold over underneath too for when it's just used as a seat. Sooo sweet.

More tomorrow... 

Flo and Elle interiors paint how to paint a house Flo and Elle interiors paint how to paint a house Flo and Elle interiors paint how to paint a house Flo and Elle interiors paint how to paint a house Flo and Elle interiors paint how to paint a house Flo and Elle interiors paint how to paint a house Flo and Elle interiors paint how to paint a house Flo and Elle interiors paint how to paint a house Flo and Elle interiors paint how to paint a house Flo and Elle interiors paint how to paint a house Flo and Elle interiors paint how to paint a house Flo and Elle interiors paint how to paint a house decorating

Monday, 28 April 2014

The Floor After


Days 4 & 5 Countdown of 10...

So after a particularly gruelling weekend, we have a beautiful brand new floor made entirely from the old wood wormy floor, two rented sanders and osmo polyx floor oil (and a little sweat, blood and tears).

Post sanding, pre oiling... You can see how the slivers that have been hammered into the gaps and chiselled off have a pleasing different colour to them.


Then the amber oil started to go on with our special oil brush... Look how the colour changes. 


I'm not going to lie - I did not do all of the floor oiling myself. Just the bit in the pictures.


Next weekend, we'll start getting in there. Eep.
Osmo Polyx oil amber what to use on old wooden floors floor sanding varnishing flo and elle Osmo Polyx oil amber what to use on old wooden floors floor sanding varnishing flo and elleOsmo Polyx oil amber what to use on old wooden floors floor sanding varnishing flo and elleOsmo Polyx oil amber what to use on old wooden floors floor sanding varnishing flo and elleOsmo Polyx oil amber what to use on old wooden floors floor sanding varnishing flo and elleOsmo Polyx oil amber what to use on old wooden floors floor sanding varnishing flo and elleOsmo Polyx oil amber what to use on old wooden floors floor sanding varnishing flo and elleOsmo Polyx oil amber what to use on old wooden floors floor sanding varnishing flo and elleOsmo Polyx oil amber what to use on old wooden floors floor sanding varnishing flo and elleOsmo Polyx oil amber what to use on old wooden floors floor sanding varnishing flo and elleOsmo Polyx oil amber what to use on old wooden floors floor sanding varnishing flo and elleOsmo Polyx oil amber what to use on old wooden floors floor sanding varnishing flo and elle